Front Twist Dress by ASOS, Gold Cuff by ANNIEPOPSHOP
There's no real back story to the ASOS twist dress. I just kind of woke up with good hair (which is a rarity) and decided it was a sign to snap up some pictures before I headed out the door. As you do.
Moving onto all things polish, there are thousands of water marble video tutorials and blogs about how to get a psychedelic rainbow of colours on your nails. For all the lacquer lovers out there that have tried it, I'm sure you'll agree that although your nails end up looking wonderful - it's a pretty messy and time consuming procedure and you end up using a lot of nail polish.
Here is a marbling technique that is going to save you a lot of nail polish, water and labour time. The end result may not be as sharp and pretty as what you'd get with traditional water marbling, but it's a good quick fix for the girls who don't have a lot of time on their hands... well in this case, on their nails.
What you'll need to marble your nails:
 -
-- Base coat colour of your choice. In this case I used China Glaze White on White.
- The colours which you'd like to marble with. I used: China Glaze Great Barrier Beige, China Glaze Groovy Green, China Glaze Mod About You, China Glaze Agent Lavender
- A sandwich bag. Yep, you read that right - a sandwich bag.
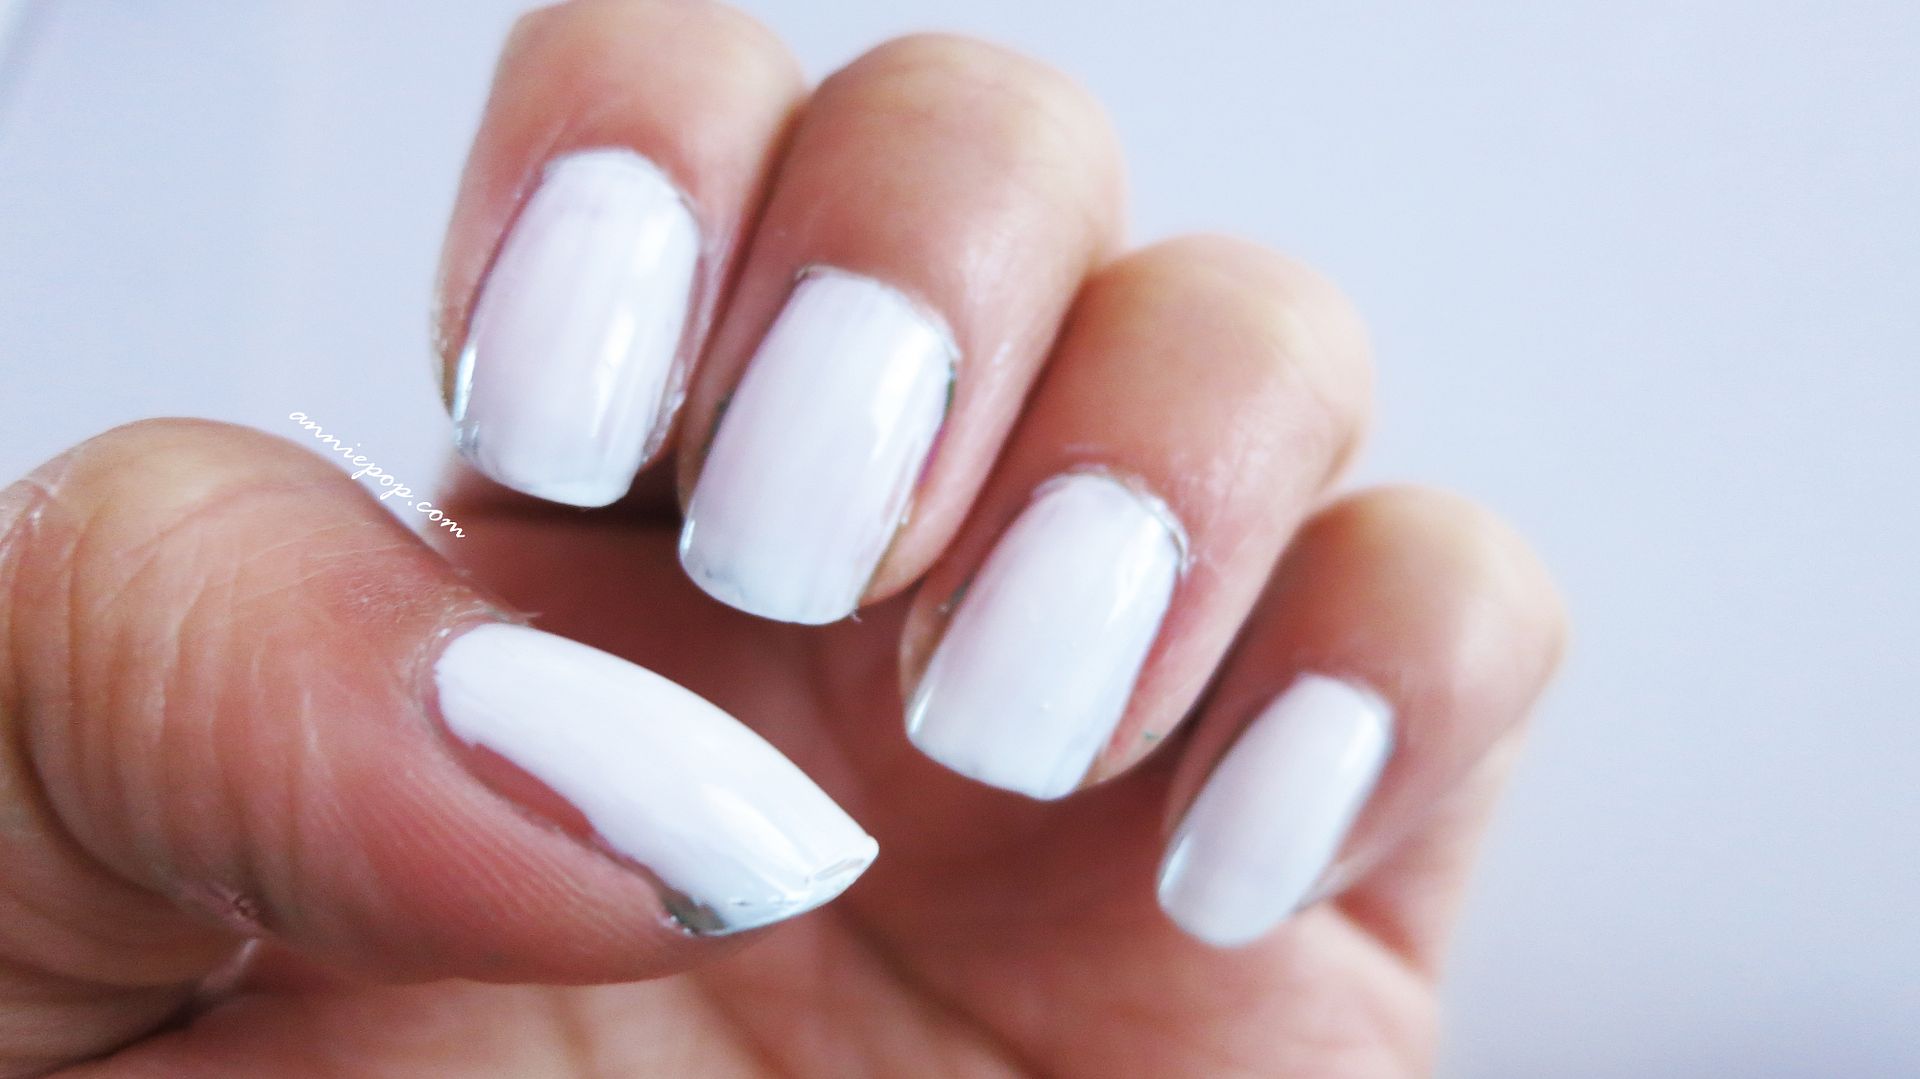
Step 1: Apply your base colour. I applied two coats of China Glaze White on White.
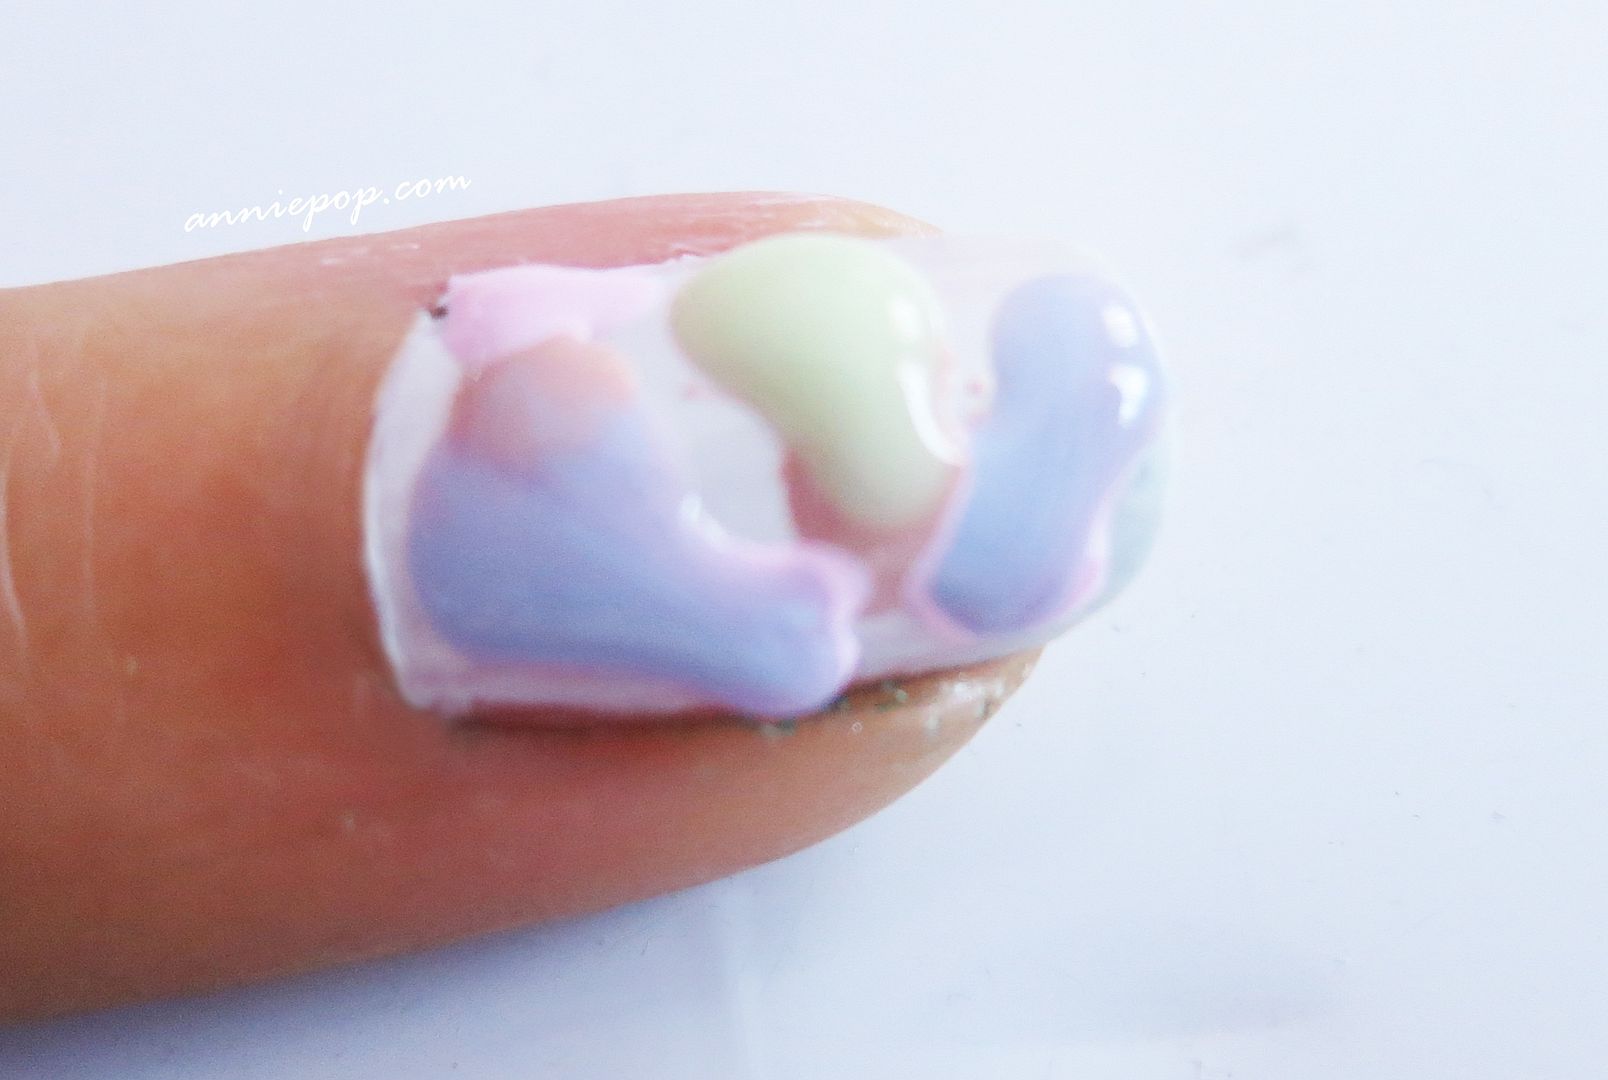
Step 2: Take your marble colours and drop random blobs of each on your nail. I tried to stick to two blobs per colour. It doesn't matter if the blobs are messy, messy in this case isn't a bad thing!
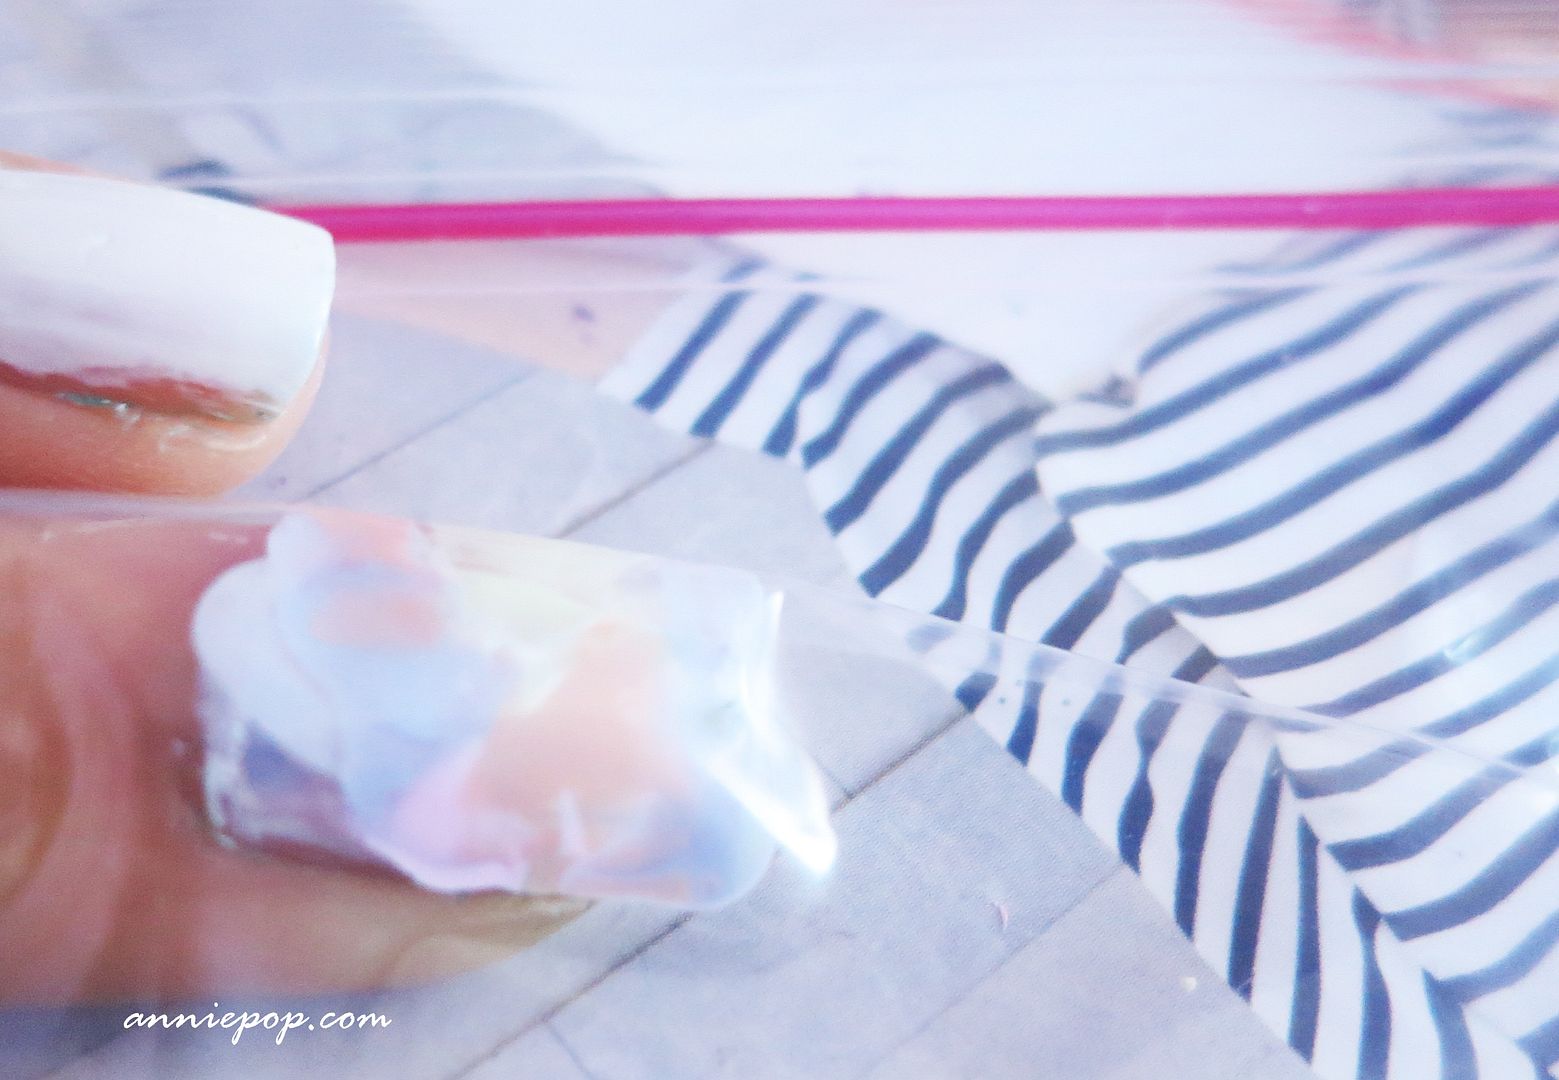
Step 3: Place your sandwich bag over your freshly blobbed nail while its still wet and pat it on to spread the colours. Here's a heads up - I realized after doing about 2 more of these that I probably should have put sticky tape around my nails so that I didn't need to remove the excess nail polish with a swab of remover afterwards.
Step 3: Clean the edges of your nails and apply a top coat and you should get something similar or even better than this:
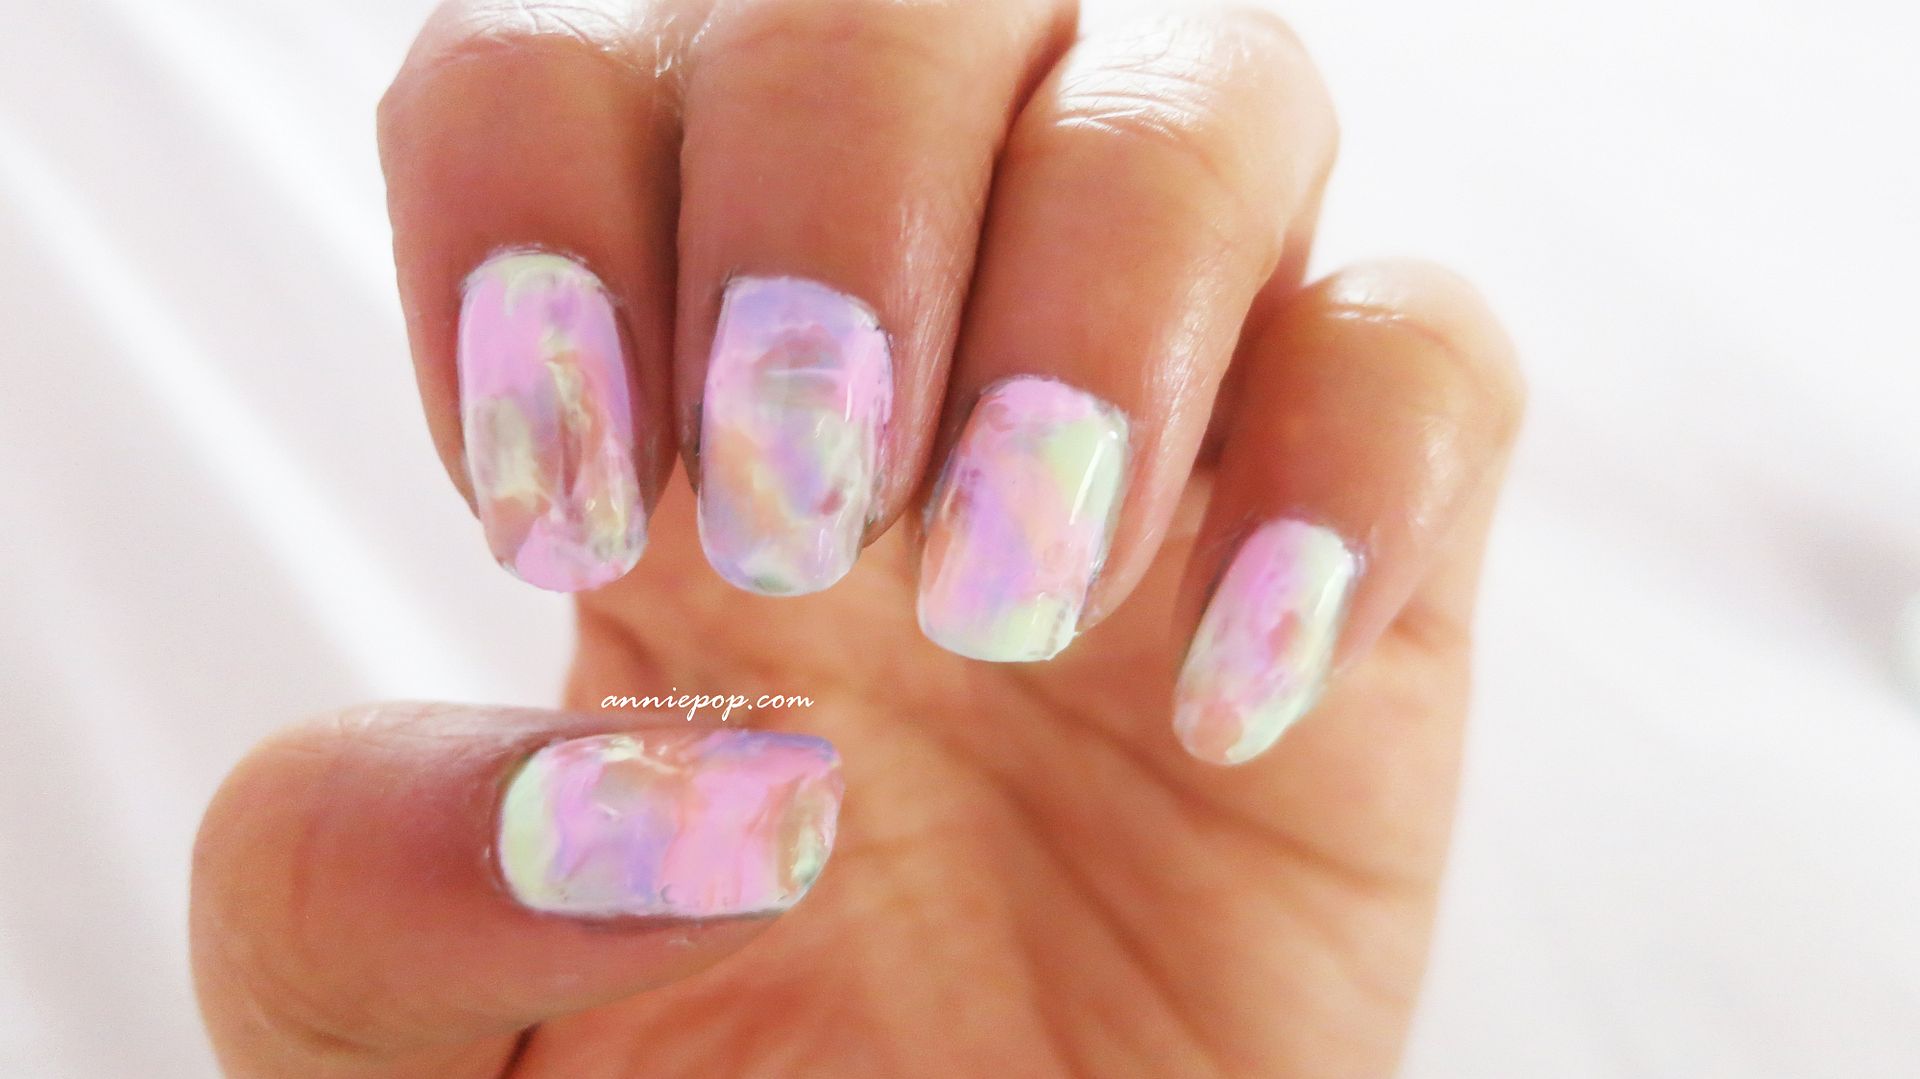
This whole process only took me around 10 minutes to do. If you end up using this lazy girl's guide to nail marbling I'd love to see what you end up with!
Hope you're all having a wonderful weekend :)


