
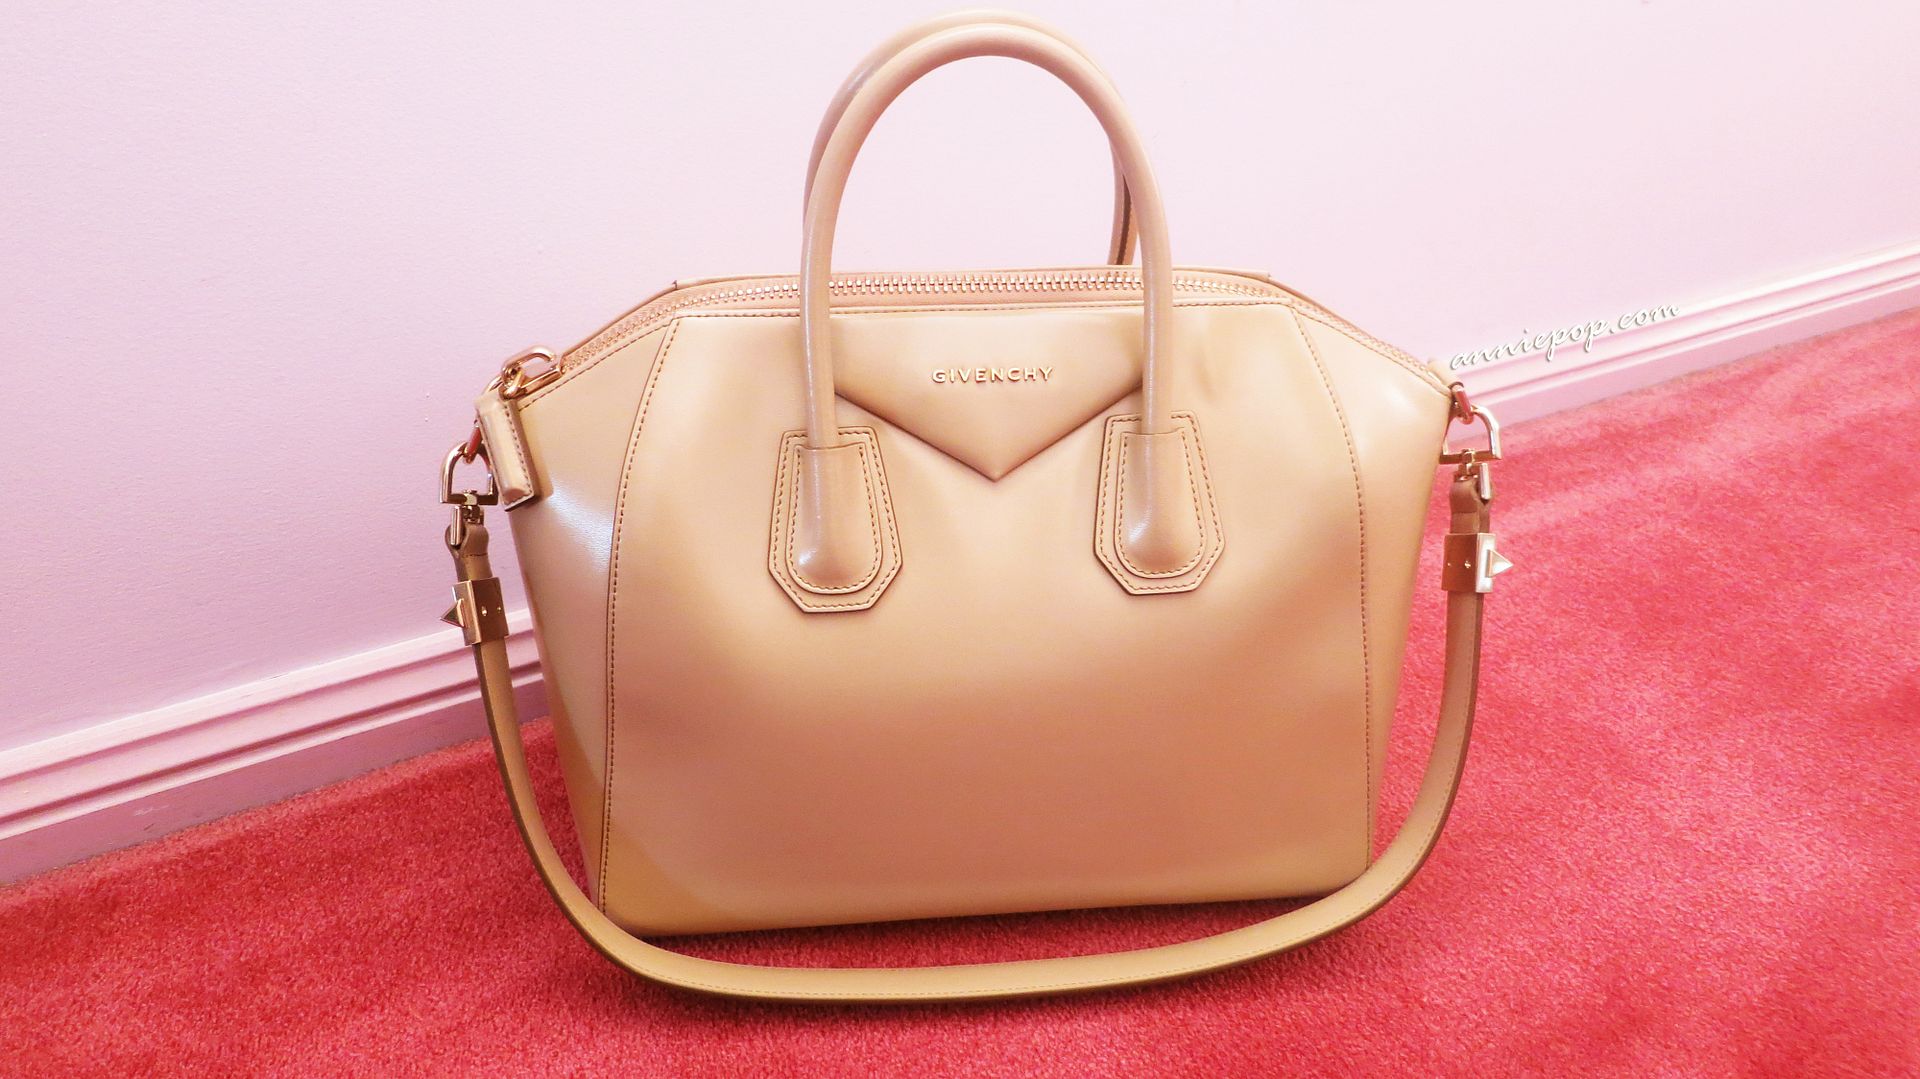
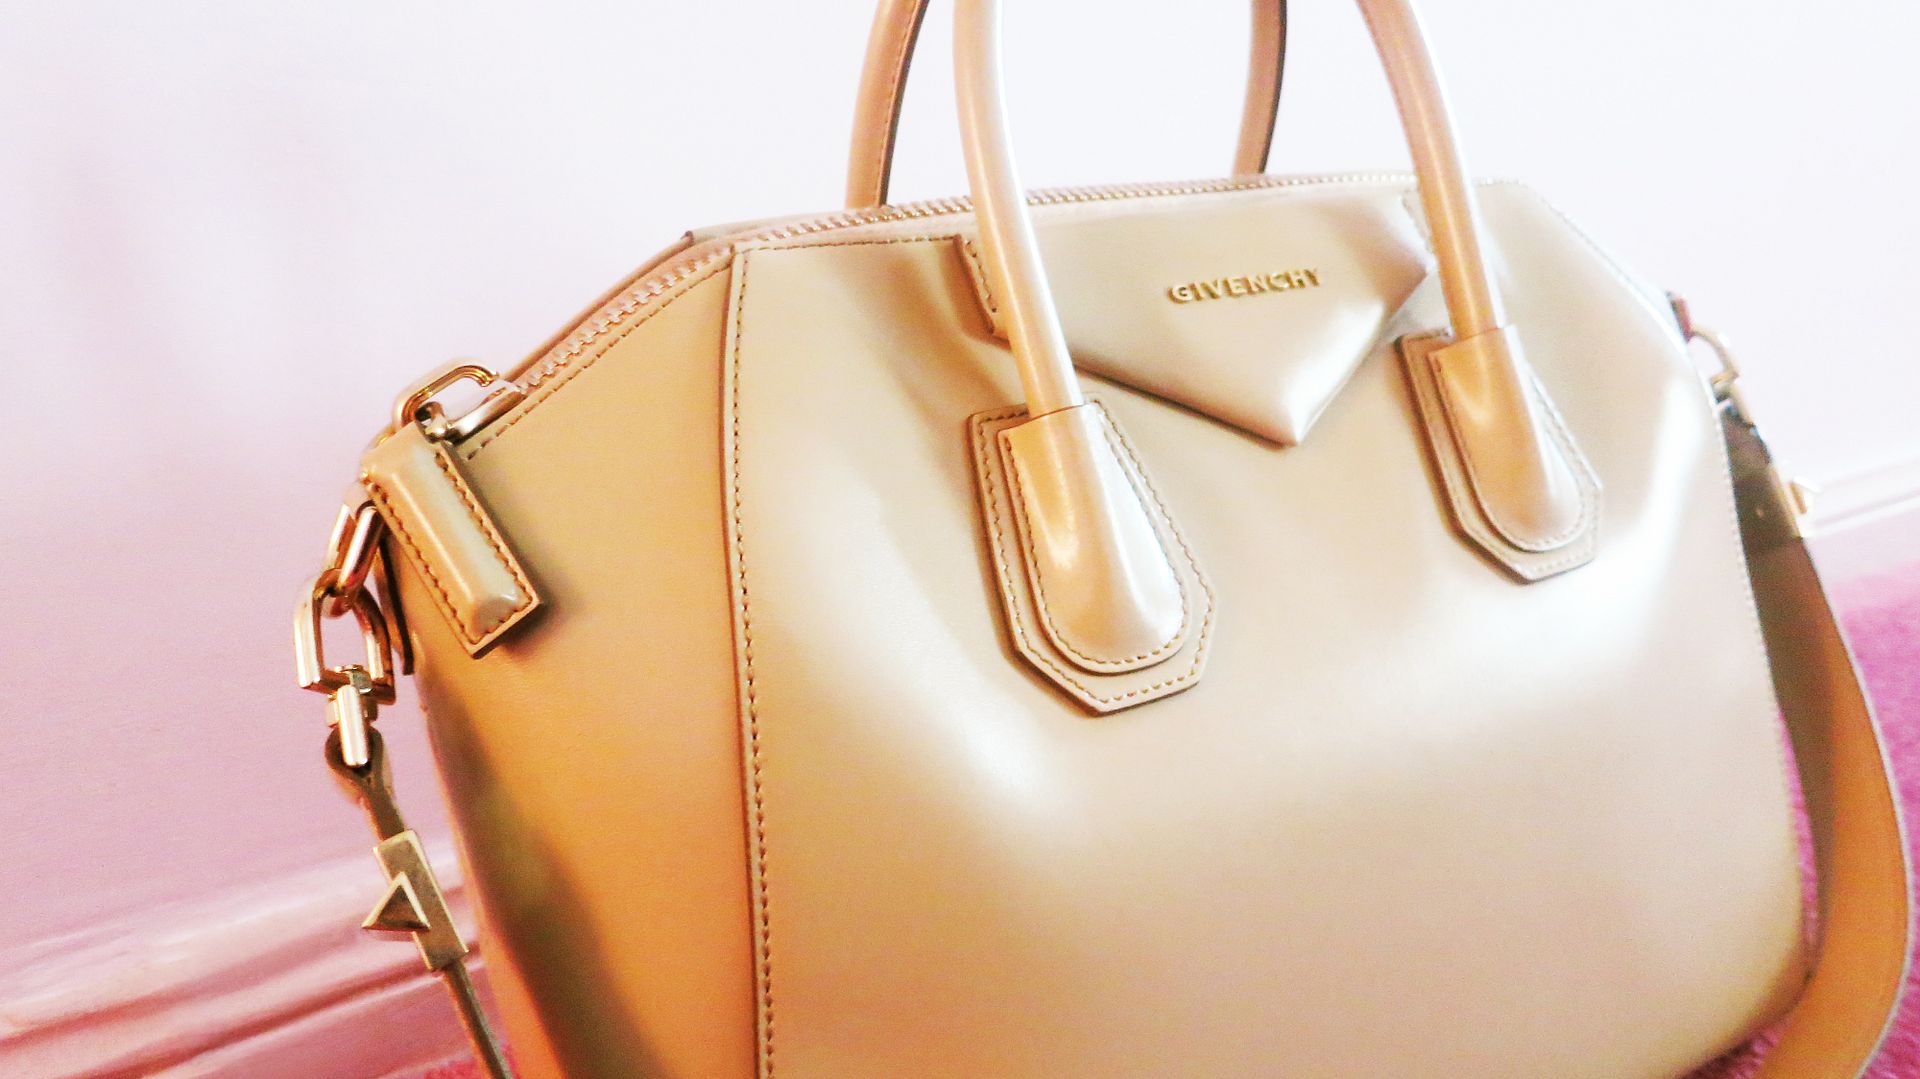
Moving onto other things, Independence Day celebrations last week gave me the opportunity to bring out my inner Gleek. I'm a Gleek with geeky gadgets and there's no shame in it! Its also the perfect excuse for me to share with you my most recent geeky purchases (I may not be the most fashionable blogger.. but there's no shame in that either haha).



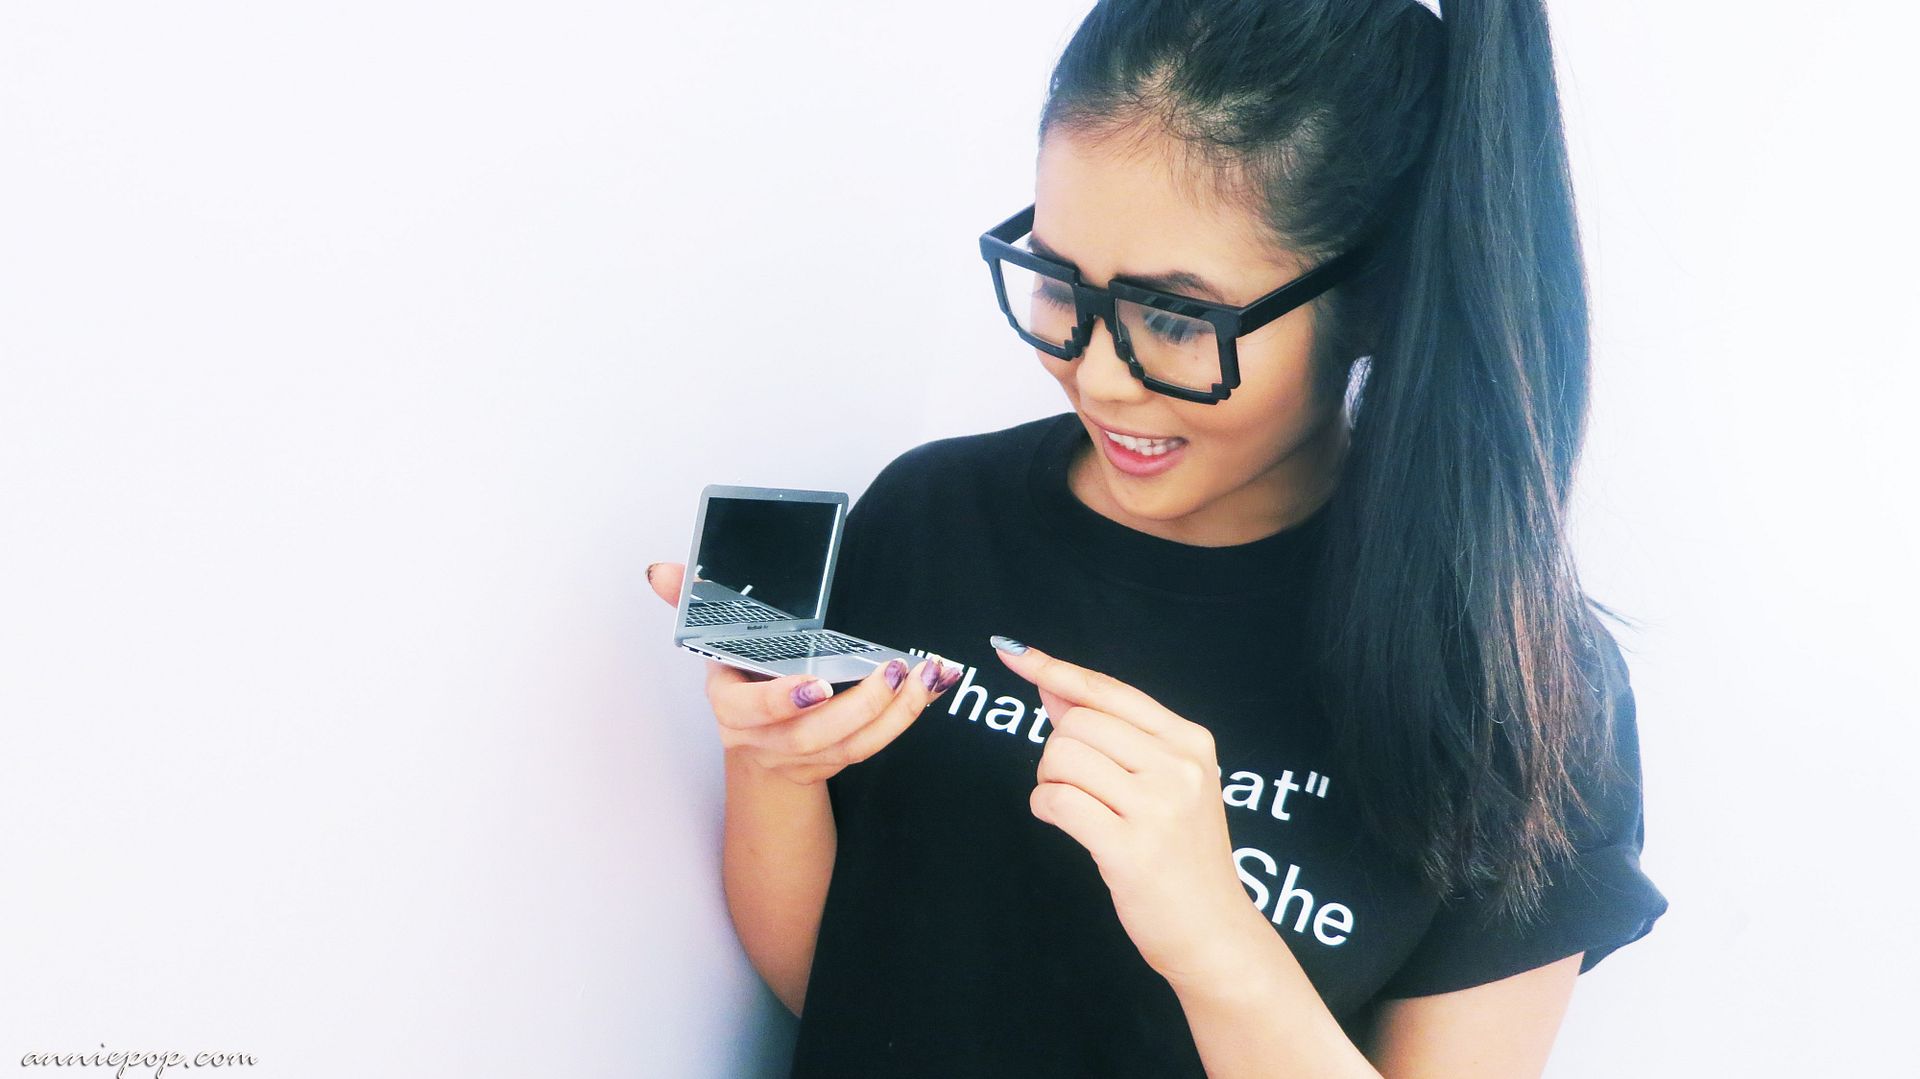
Pixel Glasses from eBay, Macbook Compact Mirror from eBay and "That's What" shirt from Zazzle
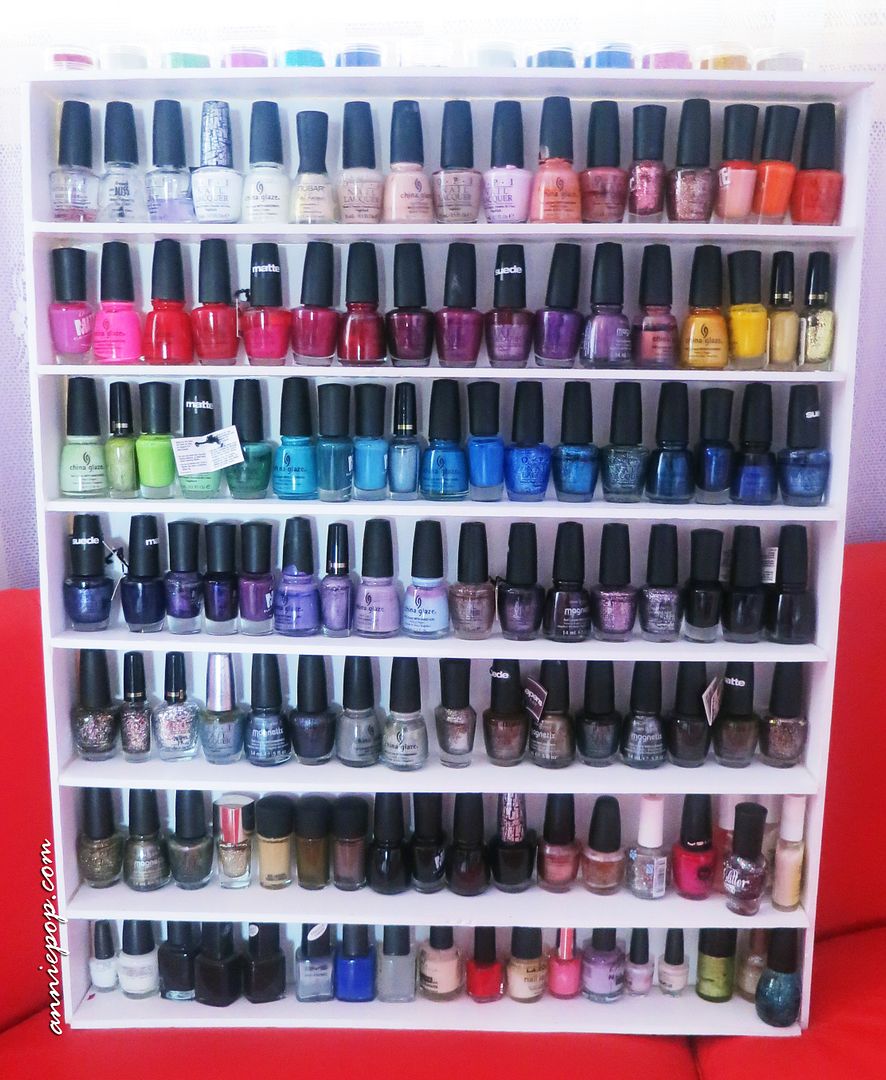
'The Fancy' app on my iPad has become my latest addiction which helped my stumble across these kick-ass geekster toys and also some great DIYs. It gave me that little extra push to get some productivity out of my weekend and build something that I've needed for a long time, a nail polish rack.
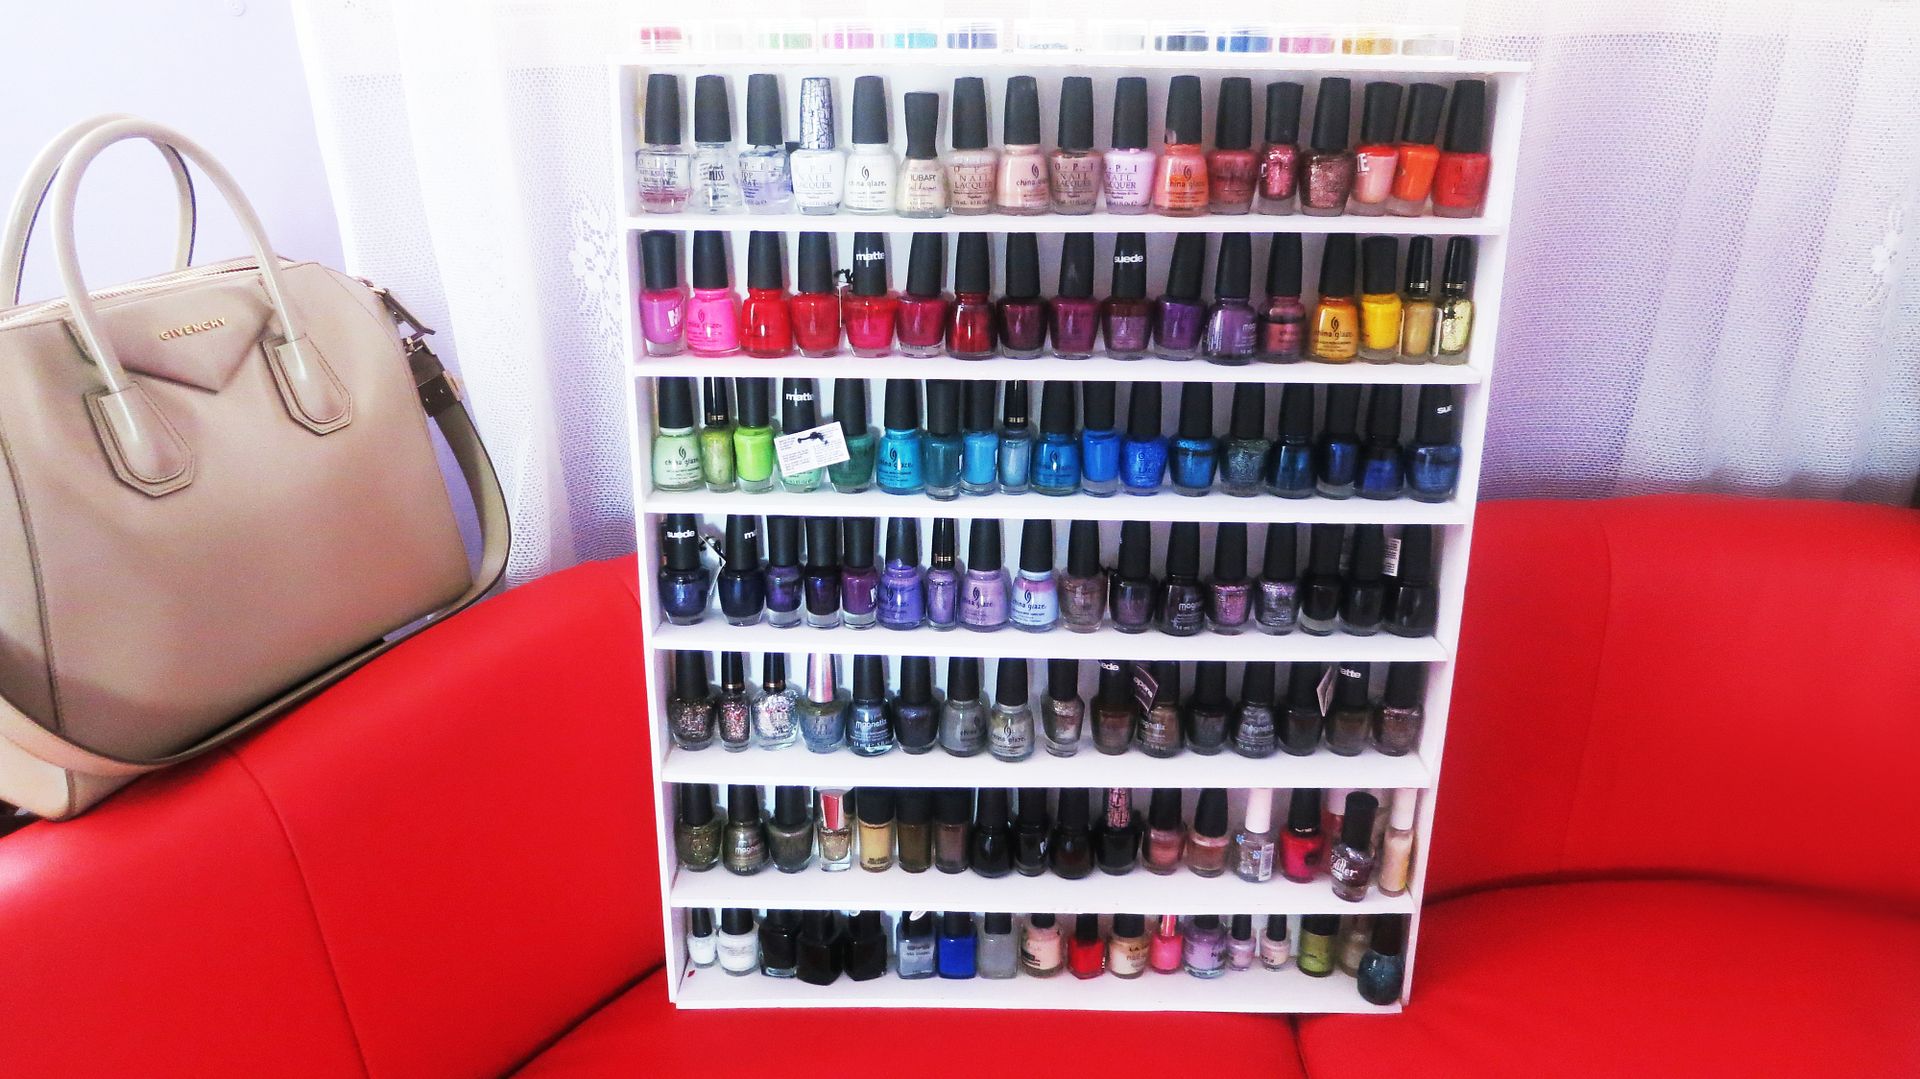
What you'll need:
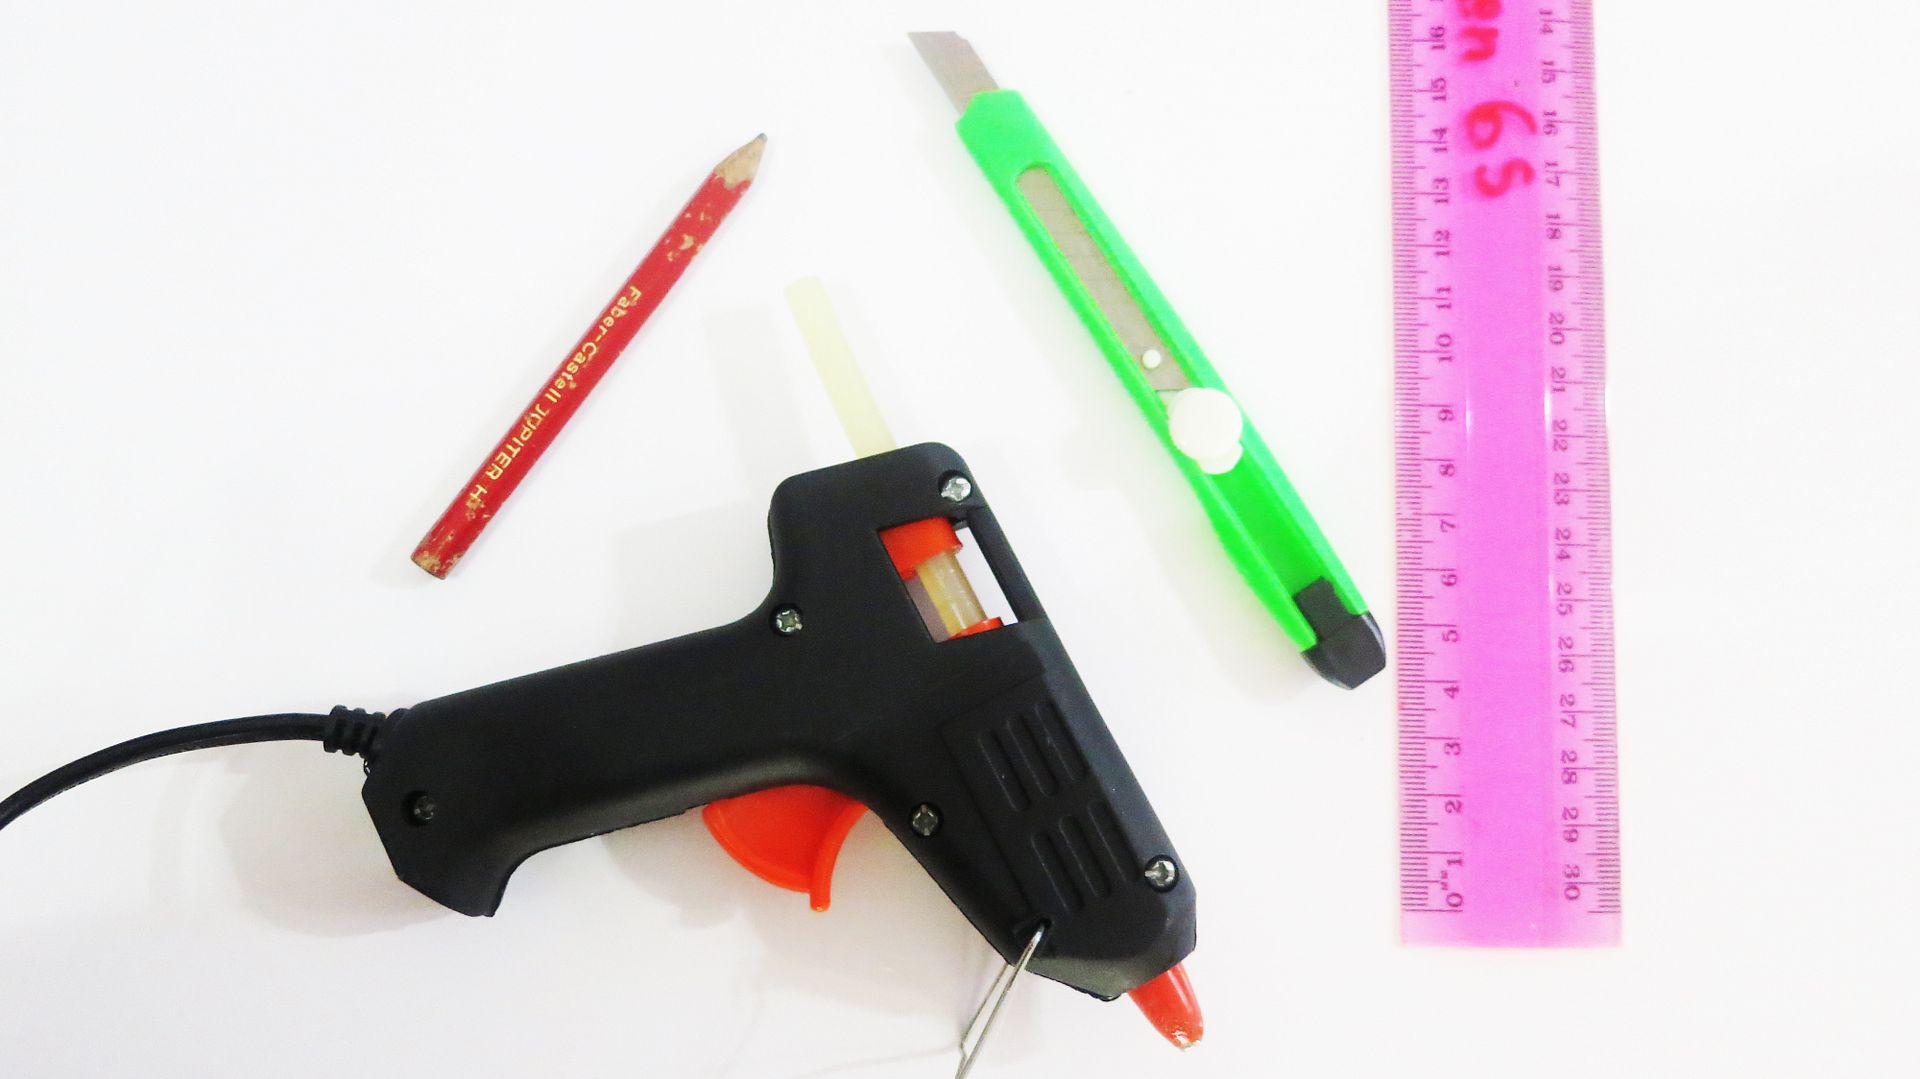
- 1 x Hot glue gun with heaps of hot glue
- 1 x Pencil
- 1 x Exacto knife
- 1 x Ruler which you used in Year 6 lol
- 2 x Lincraft presentation foam boards
- 1 x nail polish bottle
- 1 x large piece of cardboard
1. Place a huge piece of cardboard on your ground/table so that your exacto knife doesn't leave scratches on your surface
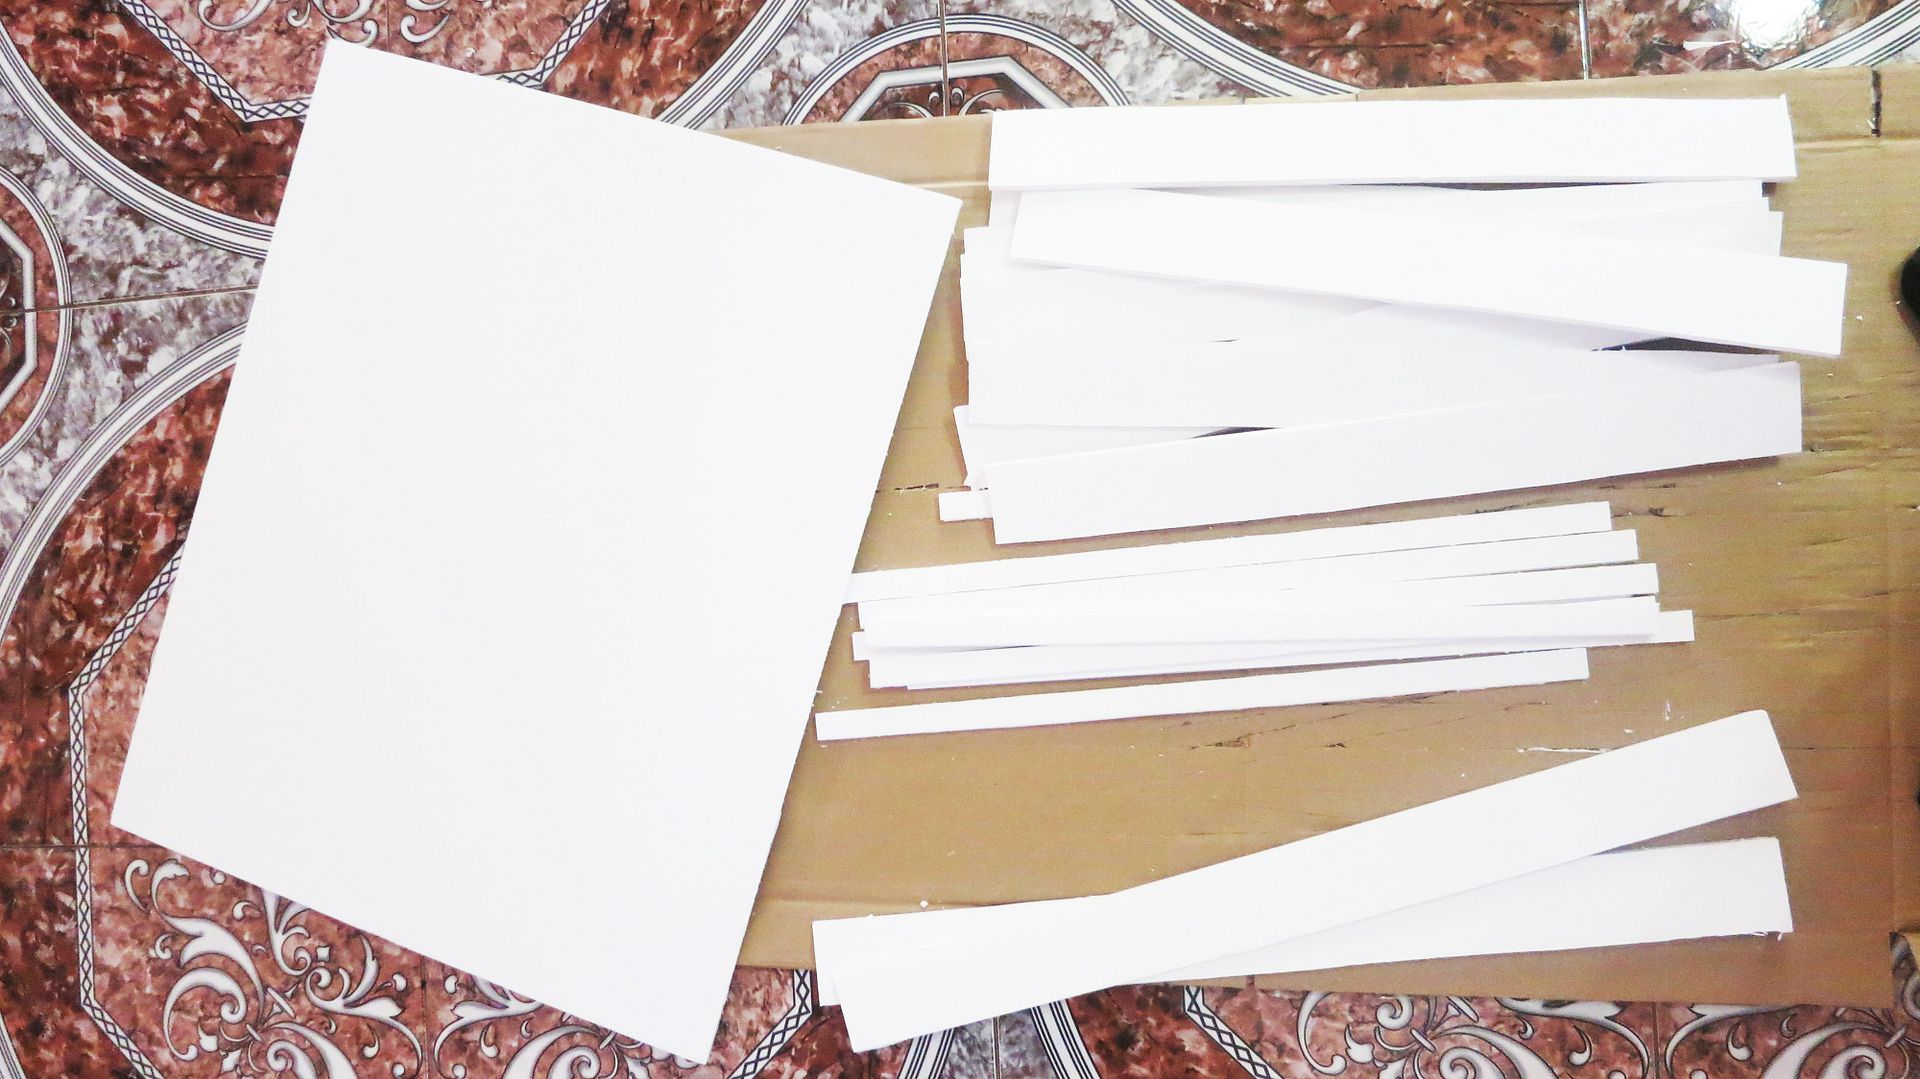
2. Using your ruler and pencil, measure and draw out the following pieces. Use your exacto knife to cut these pieces out
- 1 - 53.34cm x 66.04cm (backboard)
- 2 - 5.08cm x 66.04cm (sides)
- 6 - 5.08cm x 53.34cm (shelves)
- 2 - 5.08cm x 54cm (top and bottom pieces)
2. Using your hot glue, glue the sides and the top and bottom pieces to the backboard first.
3. Use your biggest bottle of nail polish to estimate how your shelves will be placed. Hot glue gun them into place once you're happy with the spacing
Voila!

